Understanding Lighting in Video Production
Discover how to set moods, create depth, and tell captivating stories through illumination
Light is to video what ink is to a book; it's the medium that brings stories to life. Whether you're capturing a heartfelt interview or a dramatic scene, understanding lighting can transform your video from ordinary to extraordinary.
In the world of video production, lighting isn't just about visibility; it's about mood, tone, and storytelling. Let's shine a light on this pivotal aspect and guide you through the essentials.
1. The Three-Point Lighting System
This classic setup forms the foundation of most lighting scenarios in video production.
-
Key Light: The primary source of illumination, usually the brightest. Positioned at an angle, it defines the main lighting for the subject.
-
Fill Light: Placed opposite the key light, it softens and eliminates the shadows, ensuring the subject doesn't have harsh contrasts.
-
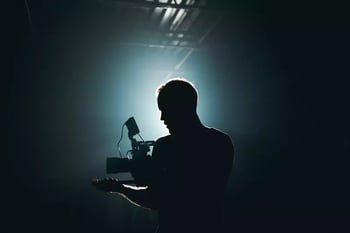
Back Light: Positioned behind the subject, it provides depth by creating a subtle rim of light around the subject's edges.
This three-point lighting tutorial offers a deep dive into its practical application.
2. Soft vs. Hard Light
The distinction between soft and hard light plays a crucial role in setting the mood of your scene.
-
Soft Light: Diffused and widespread, it wraps around the subject, minimising shadows. Think overcast days or a softbox light source.
-
Hard Light: Direct and undiffused, it results in stark contrasts and sharp shadows. Sunlight on a clear day or spotlight are examples.
Understanding when to use each can make a difference. Check out this guide on soft vs. hard lighting techniques.
3. Colour Temperature
Measured in Kelvin (K), it refers to the warmth or coolness of light.
-
Warm Light: Below 3500K, it has a reddish-orange tint. Ideal for creating cosy, intimate scenes.
-
Cool Light: Above 5000K, it’s bluish and mimics daylight. Great for outdoor scenes or simulating daylight indoors.
Getting the colour temperature right ensures skin tones appear natural and the environment feels authentic.
4. Natural vs. Artificial Light
Each has its pros and cons, and understanding when to harness each can transform your shots.
-
Natural Light: Sunlight can be a powerful tool, especially during the 'golden hour' when the light is soft, warm, and diffused. However, it's unpredictable and changes throughout the day.
-
Artificial Light: Lights like LEDs, tungsten, and fluorescents offer consistent illumination and full control but may require modifiers to achieve the desired look.
Explore more about the differences in this natural vs. artificial lighting breakdown.
5. Light Modifiers
Tools like diffusers, reflectors, and gels can shape, soften, or change the colour of your light source.
-
Diffusers: Soften the light, reducing contrast and shadows. Essential for achieving soft light in indoor setups.
-
Reflectors: Bounce and redirect light, useful for outdoor shoots when you need to fill in shadows without an additional light source.
-
Gels: Transparent coloured sheets that can alter the colour of your light, useful for setting moods or correcting colour temperature.
6. Practical Lights
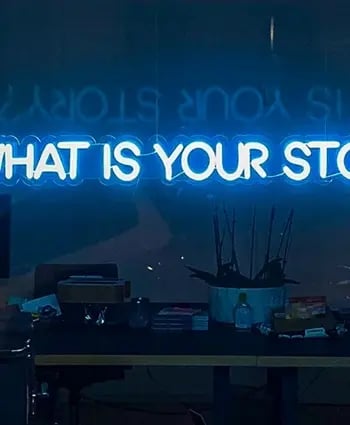
These are light sources visible within the scene, like lamps, neon signs, or candles. They not only illuminate but also add aesthetic value and depth to your scene.
Illuminate Your Story
In the realm of video production, lighting is more than just a technical requirement; it’s a storyteller. With the power to evoke emotions, set the scene, and direct attention, mastering lighting is key to producing videos that resonate. Dive into the vast world of lighting, experiment, and soon, you'll find that every shadow and highlight is an opportunity to tell a richer, more captivating story.

Written by Emily Malone Marketing Manager for Venture — a full-service video production agency that specialises in producing creative videos & campaigns that get real results.

